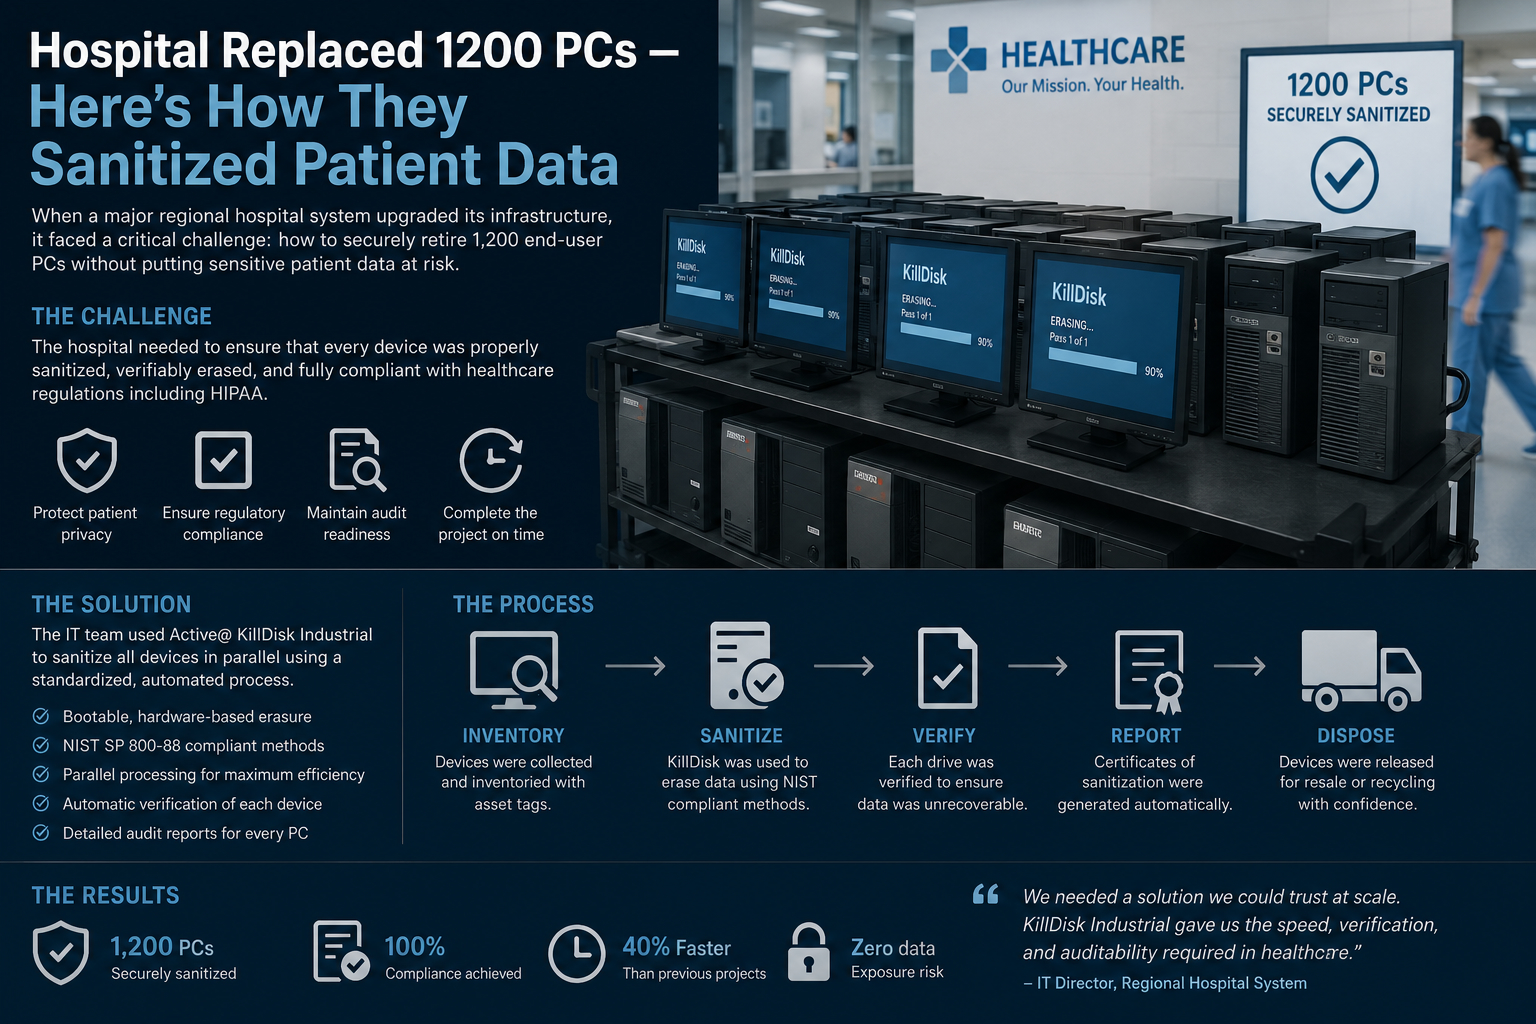
When a hospital replaces more than a thousand computers, the real challenge isn’t logistics—it’s data. Patient records, imaging files, billing information, and cached credentials can all persist far longer than expected if devices aren’t properly sanitized.
Here’s how a modern hospital typically handles a large-scale transition like replacing 1,200 PCs while ensuring patient data is completely destroyed and non-recoverable.
Why this is high-risk
Hospital PCs are rarely “just computers.” Even a basic workstation may contain:
Local copies of patient charts cached from electronic health record (EHR) systems Login tokens for clinical systems Radiology images temporarily stored for faster access Browser sessions connected to internal portals Printed document spools containing sensitive files
If even one device is improperly wiped, it can become a serious privacy breach under healthcare regulations such as HIPAA-equivalent standards in Canada.
Step 1: Inventory and classification
Before anything is removed, IT teams perform a full audit:
- Each device is tagged and mapped to its department (ER, radiology, administration, etc.)
- Storage type is identified (HDD vs SSD matters a lot)
- Devices are classified by sensitivity level (e.g., administrative PC vs oncology workstation)
This step ensures no device is accidentally skipped.
Step 2: Network isolation
Before decommissioning begins:
- Devices are removed from the hospital network
- Remote access credentials are revoked
- Active directory accounts tied to the machines are disabled
This prevents any remote access during transition.
Step 3: Secure data wiping (logical sanitization)
For most operational PCs:
- Certified data-wiping software is used (e.g., NIST 800-88–compliant tools)
- Multiple overwrite passes or cryptographic erase methods are applied
- Verification logs are generated for each device
For SSDs, traditional overwriting is less reliable, so:
- Secure erase commands built into firmware are used
- Encryption key destruction is often preferred (crypto-shredding)
Step 4: Physical destruction (for high-risk or failed drives)
If a drive is:
- Too old
- Potentially corrupted
Or used in high-sensitivity departments
…it is physically destroyed:
- Shredding into industrial fragments
- Degaussing (for magnetic drives)
- Drilling or crushing as secondary verification
Hospitals often require witnessed destruction with chain-of-custody documentation.
Step 5: Verification and audit trails
Every single device must have proof of sanitization:
- Serial number tracking
- Wipe logs or destruction certificates
- Timestamped audit trails
- Third-party validation (in many cases)
This documentation is critical for legal compliance and internal audits.
Step 6: Data center cross-check
IT teams also verify:
- No orphaned backups exist on local machines
- All patient data remains only in central secure servers
- Cloud sync endpoints are intact and consistent
This ensures nothing was cached locally and forgotten.
Step 7: Secure redeployment or disposal
After sanitization:
- Some PCs are redeployed internally after imaging
- Others are donated, recycled, or sold
- Drives that fail verification are permanently destroyed
- The key principle: assume recovery is possible
Modern hospital IT security is built on a simple assumption:
If data has not been explicitly destroyed and verified, it should be considered recoverable.
That mindset is why multi-layer sanitization is standard practice—not just a single wipe.
Bottom line
Replacing 1,200 hospital PCs is less about hardware and more about trust. The process is designed so that even highly sophisticated recovery attempts would find nothing usable left behind.